
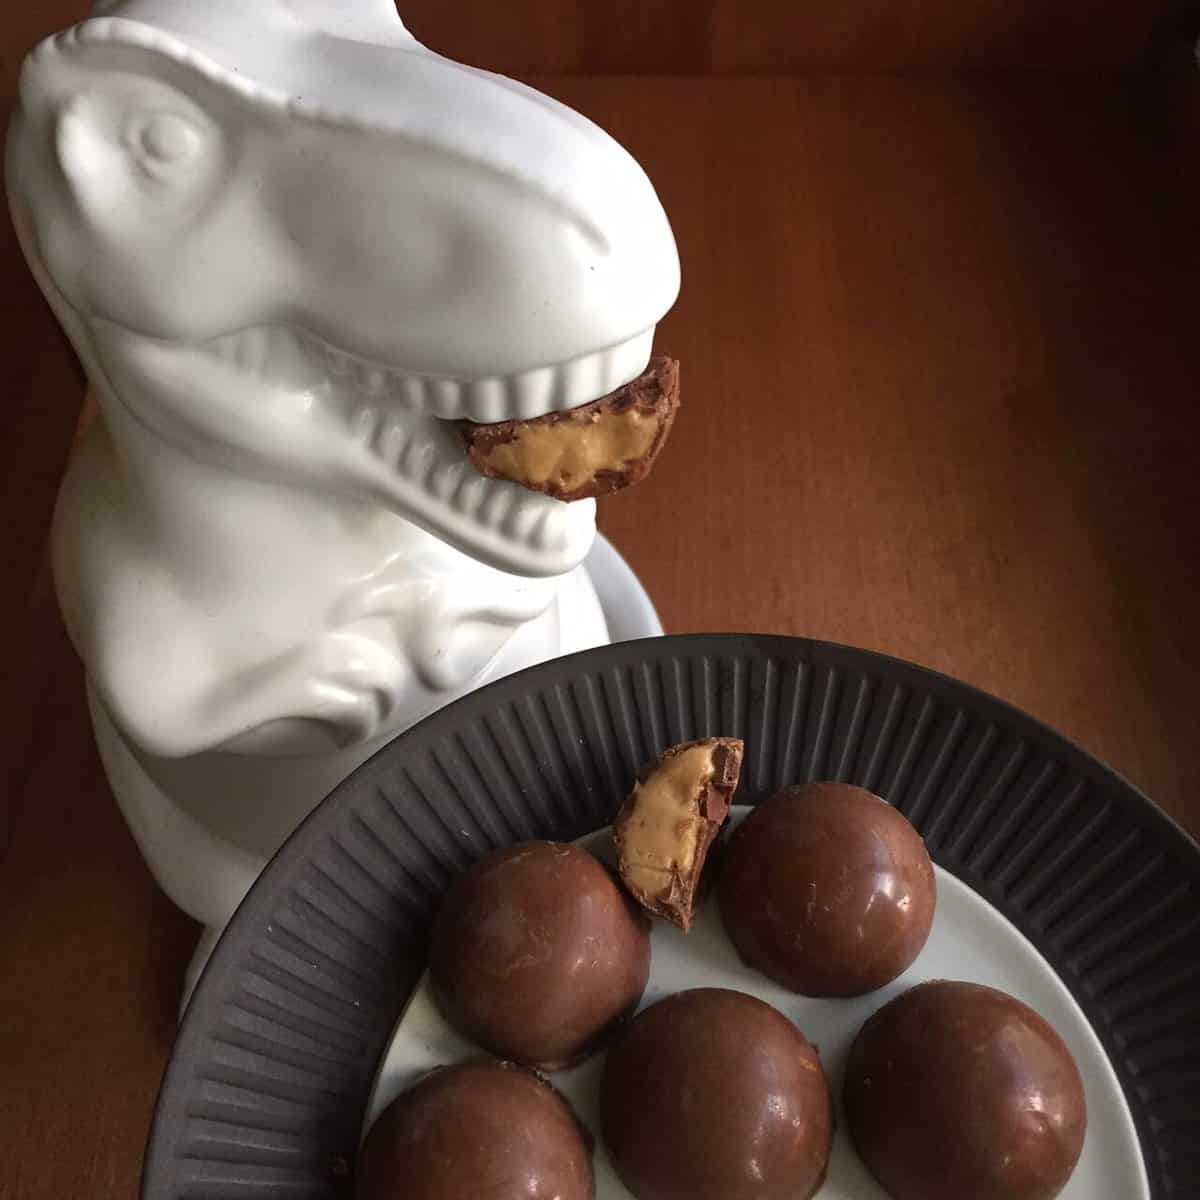
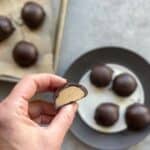
Chocolate Peanut Butter Bonbons

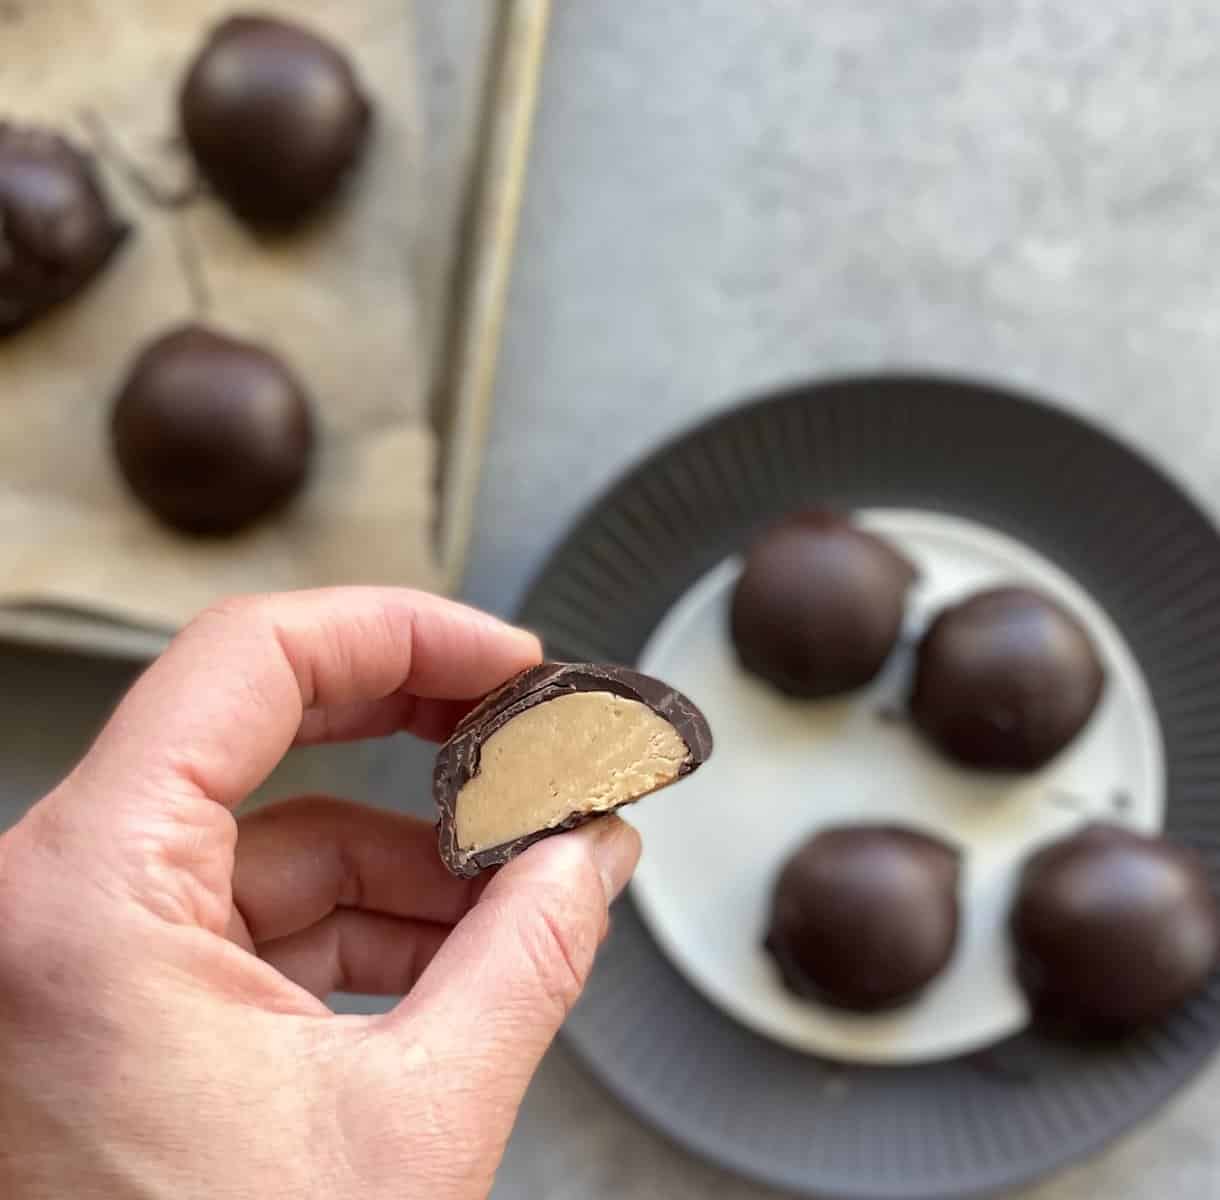
Chocolate Peanut Butter Bonbons. Copycat Reese’s peanut butter cups. I don’t care what you call these chocolate bonbons with a peanut butter filling. Anytime you combine chocolate and peanut butter is a win in my book.
Read on to learn all the recipe tips and tricks, info about chocolate tempering machines, and links out for how to temper by hand. Or just hit that Jump to Recipe button and let’s make a peanut butter bonbon filling and chocolate peanut butter bonbons!
Jump to:
Backstory
The short story is that I did reddit 52 weeks of baking challenge back in 2021 to challenge myself to learn new skills. So for chocolate week, I decided to temper chocolate.
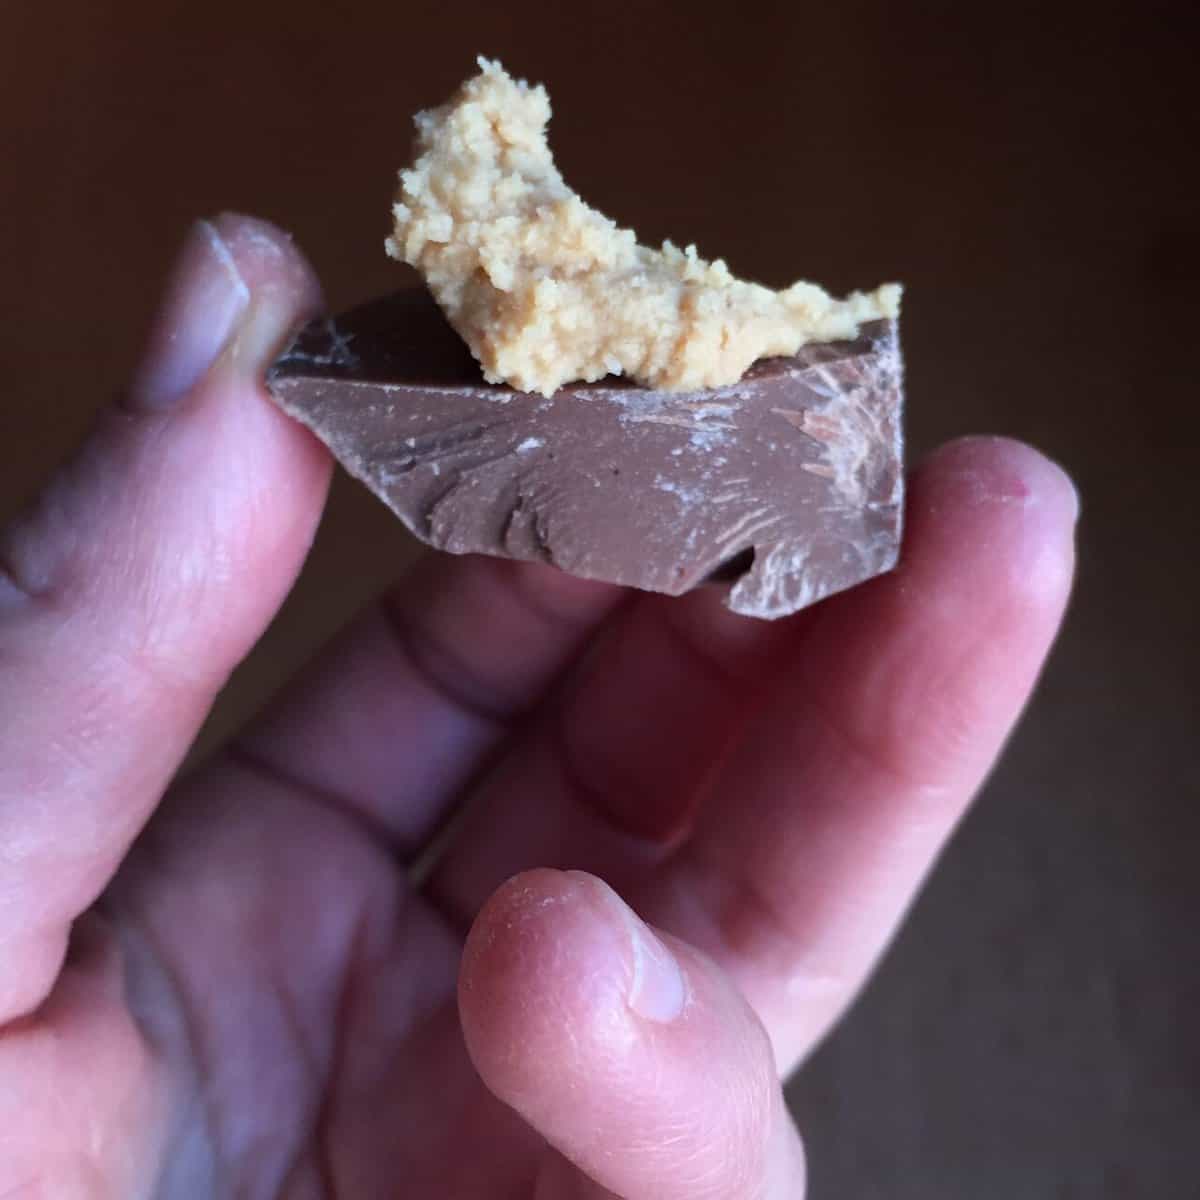
I did have a temporary lapse of fortitude when I scooped a bit of the peanut butter bonbon filling onto a piece of chocolate. But onward I went.
Ingredients
- Peanut butter – I always recommend using creamy Jif for baking.
- Butter – use unsalted here.
- Powdered sugar – make sure to check the label if you are wheat-intolerant
- Chocolate – use the best chocolate you can. I recommend Ghirardelli or Scharffen Berger.
If you love chocolate and peanut butter as much as I do, you should check out my chocolate peanut butter cake, chocolate peanut butter fudge, or my double peanut butter chocolate chip cookies.
Please see the recipe card below for complete information on ingredients and quantities.
Substitutions and variations
- Use leftover chocolate to create chocolate decorations or dip other things like raisins, pretzels, bananas or strawberries, or these chocolate mint spritz cookies.
What’s the difference between a truffle and a bonbon?
Truffles like my coffee truffles have chocolate ganache centers, often rolled in cocoa or dipped in nuts. Bonbons are chocolate-encased and can include any sort of center. There seems to be a discrepancy whether the Venn diagram has truffles as a subset of bonbons (i.e. whether all truffles are bonbons) or whether the sets are non-overlapping.
Recipe tips and tricks
Peanut butter bonbon filling
Combine the peanut butter and unsalted butter in a small pan and melt over low heat until combined. Remove the pan from the heat, and stir in the powdered sugar until smooth, making sure to mash out any lumps in your sugar.
Let your peanut butter bonbon filling cool, either at room temperature or in a bowl in the fridge. Once cool, you can use this filling in molds or to dip into your tempered chocolate.
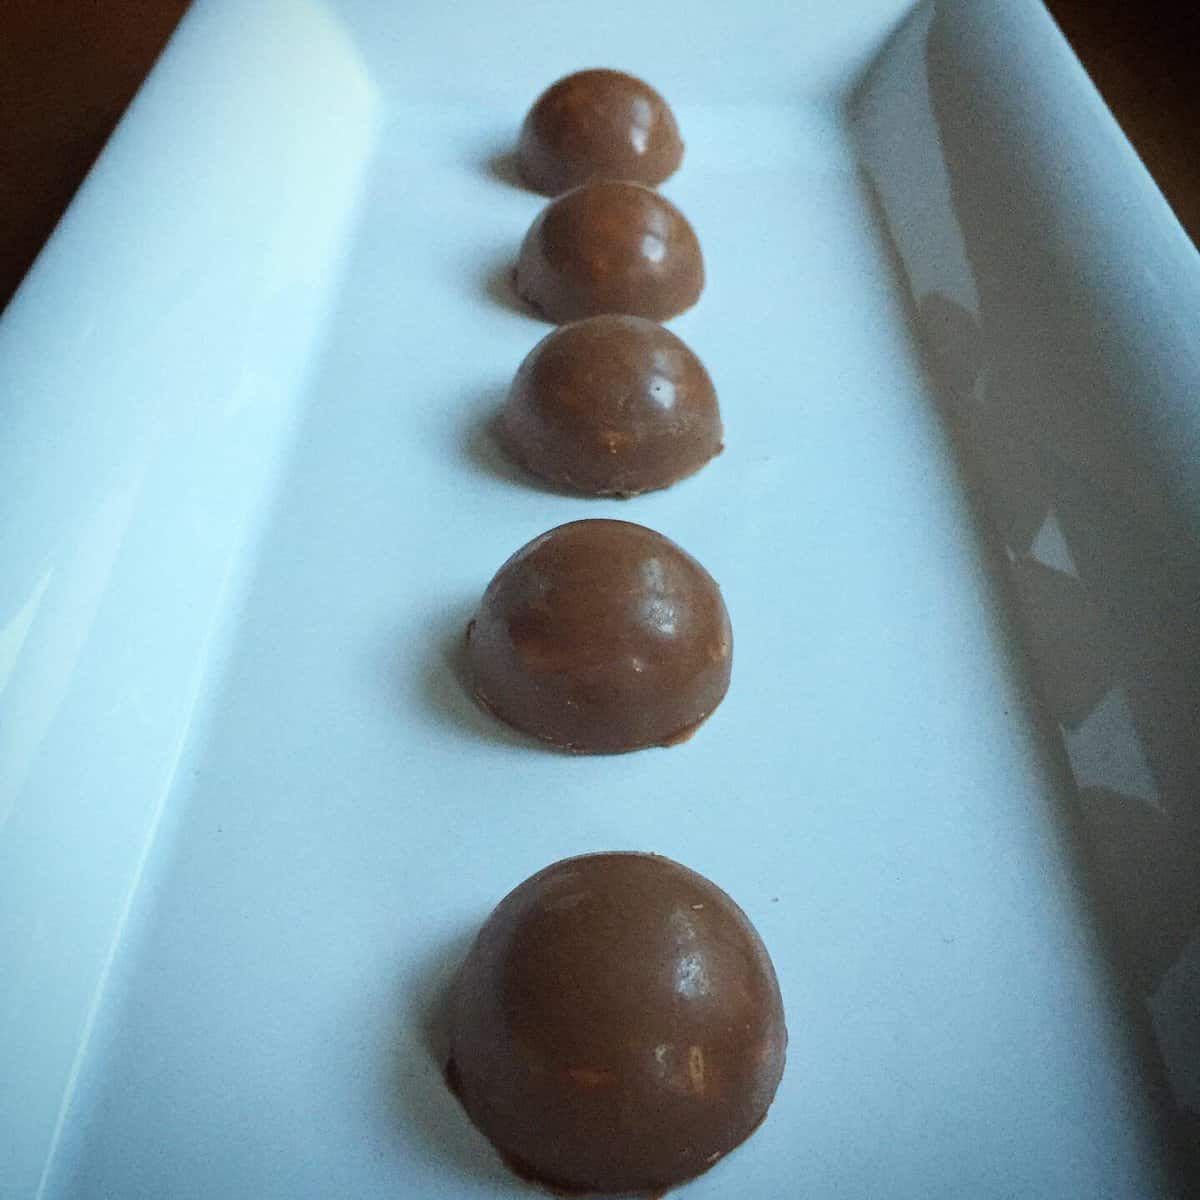
Using chocolate molds
Temper your chocolate, then spoon it in into your molds in a thin layer. You can use a food-safe paint brush, if you like, to get it around the sides.
Let the chocolate cool to room temperature. Then add the peanut butter filling and flatten, leaving enough space in your mold for a thin layer of chocolate for the bottom of your bonbon. Re-temper your chocolate if it has not been held in temper.
Dipping your centers
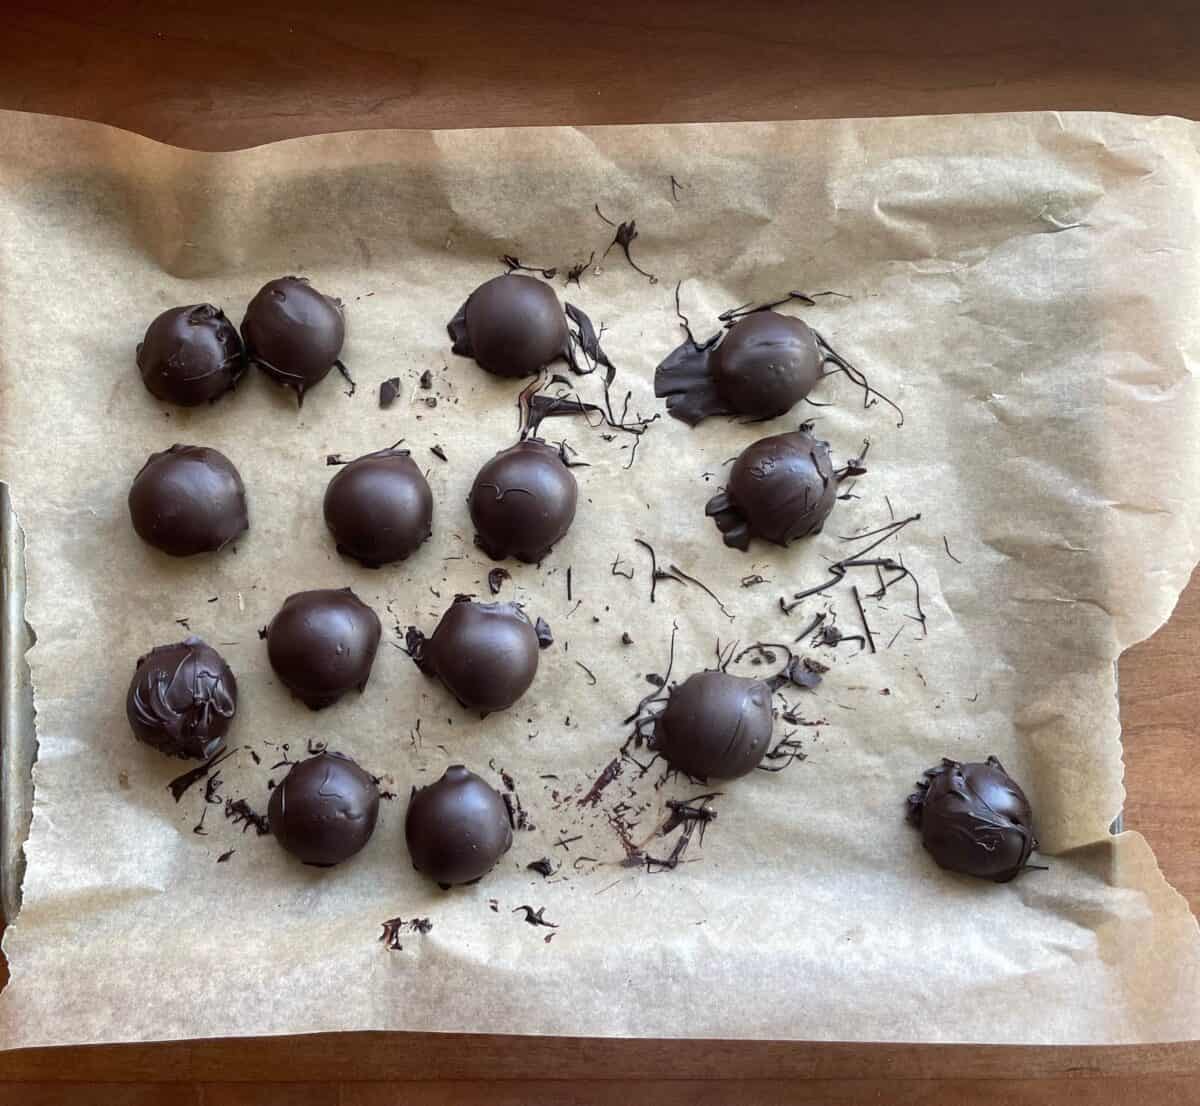
Alternatively, you can dip the peanut butter filling into the tempered chocolate. Roll the peanut butter bonbon filling into balls by hand or use molds and chill just for a few minutes.
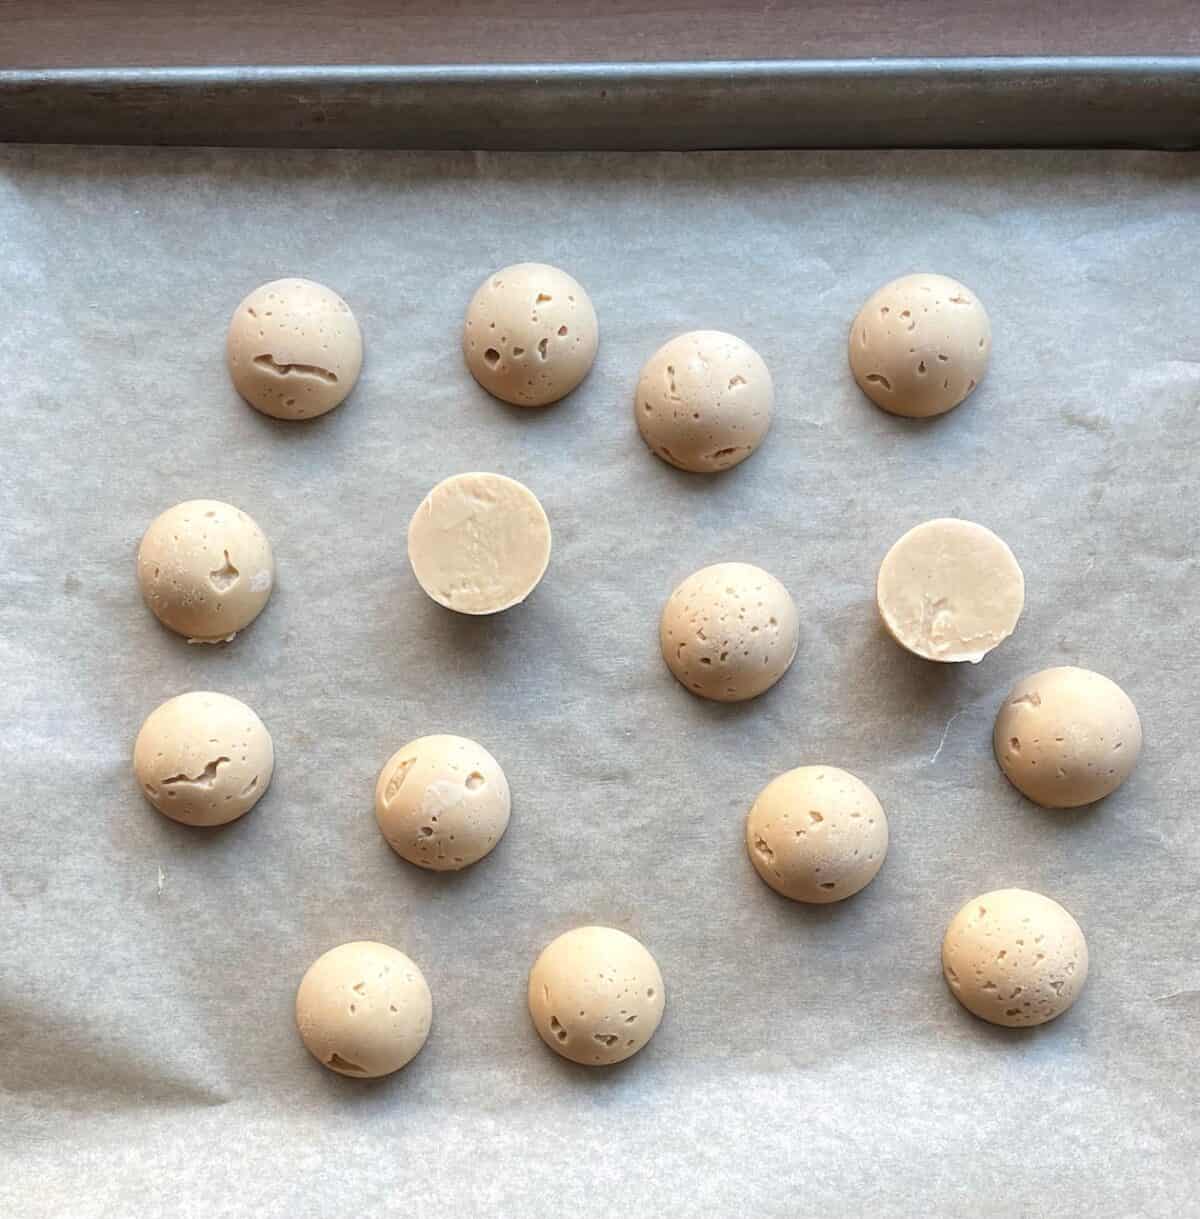
Dip your peanut butter centers into your tempered chocolate and let dry on a baking sheet covered in parchment paper. Some of these are definitely better than others!
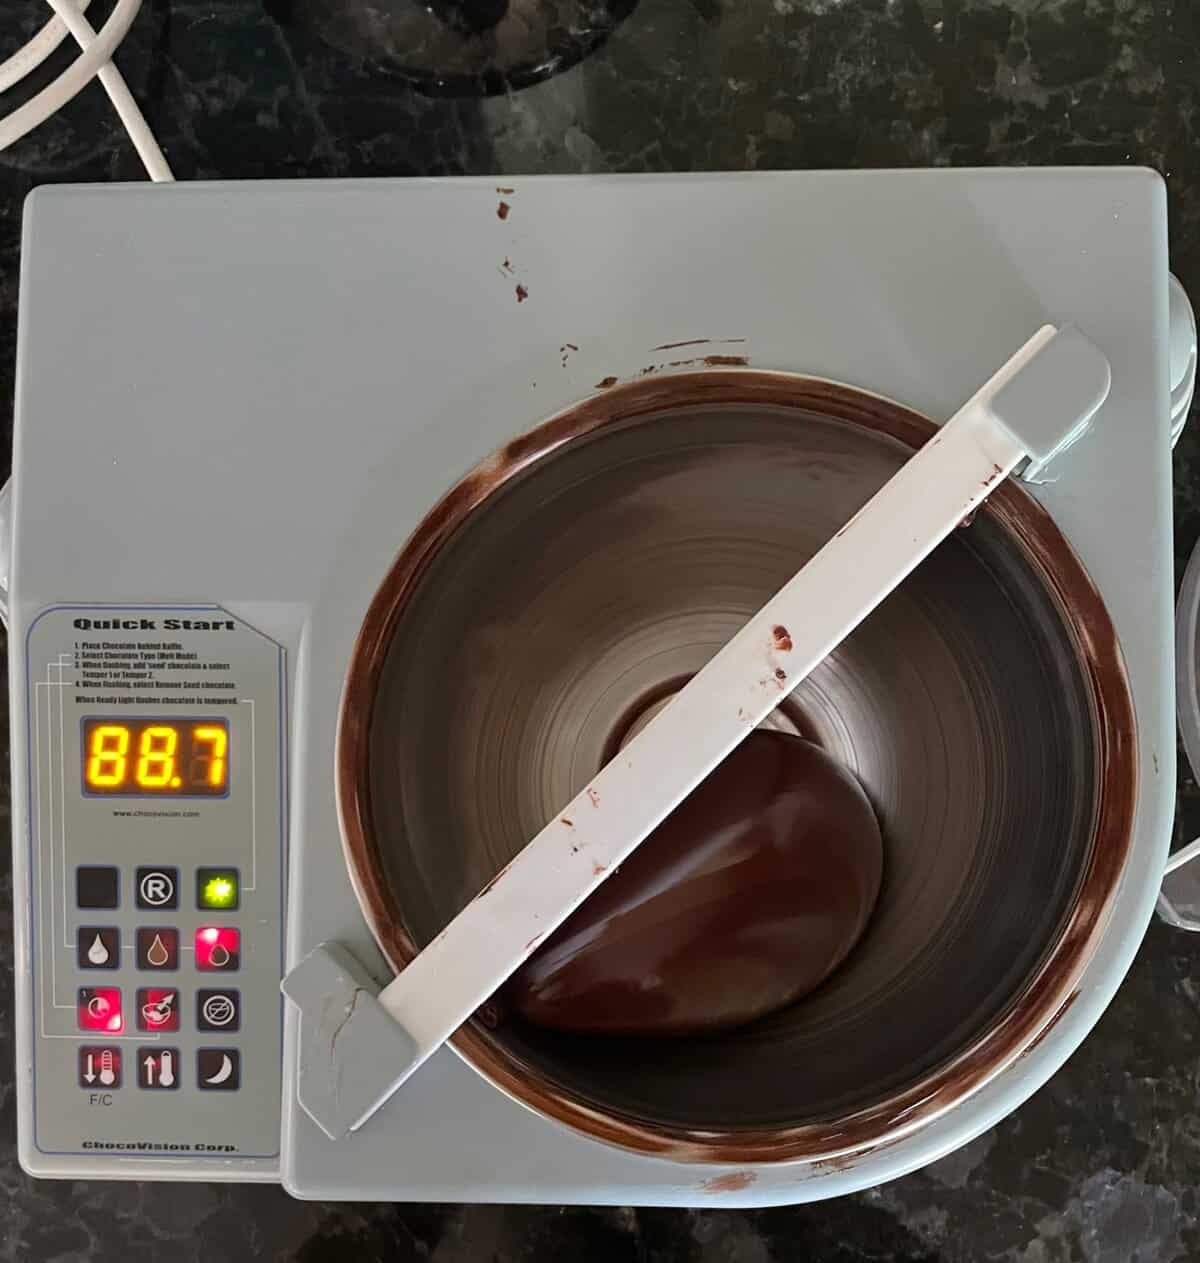
Using a chocolate tempering machine
I rented a Chocovision Rev2 from a local chocolate store to see whether the chocolate tempering machine was worth the $700 price tag. This machine can temper a pound and a half of chocolate and is intended for home use.
The Rev2 did some things really well:
- It took longer than I expected to run through the cycles of melting, cooling, and re-warming. But it did it requiring very little attention.
- It held the temperature perfectly through all the dipping.
- The chocolate had the perfect snap at the end of it all.
And there were few things it could do better:
- It was loud. I wouldn’t want to keep that thing running just to keep my chocolate in temper.
- I still found it challenging to dip, although I’m sure this would get better with practice. With the spinning bowl, I kept losing my centers into the chocolate and couldn’t figure out how to tap all of the excess chocolate back into the bowl.
How to store chocolate bonbons
If you have tempered your chocolate, your bonbons can be stored at room temperature. If you’ve dipped into your tempered chocolate, leftover chocolate should be stored in the fridge. If you’ve poured the chocolate into molds, you can store any leftover chocolate at room temperature.
Recipe FAQs
You can definitely dip things into chocolate that hasn’t been tempered. There are two things I took away from 8th grade home economics class – chocolate-dipped buckeyes and a purple stuffed elephant. But non-tempered chocolate doesn’t have the same shine or snap. For these bonbons, I would, and did, temper.
Here’s a good link from Epicurious on how to temper chocolate. More than anything, it just requires practice. And patience. Lots and lots of patience. And more practice.
You can find inexpensive silicone molds in various shapes and sizes on Amazon.
Related recipes
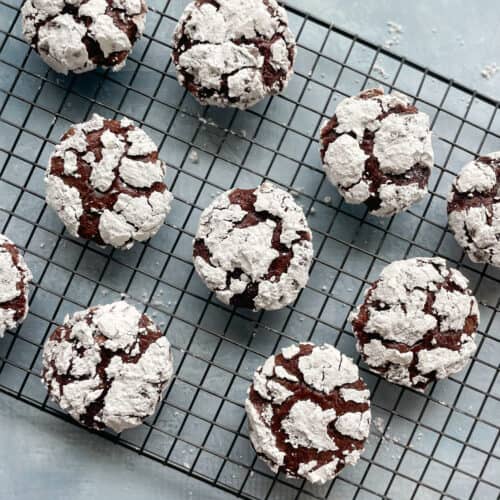
Try another Ugly Duckling Bakery recipe for candies and sweets. Or, if you’re thinking about holiday gift-giving, you can’t go wrong with these cookies:
Love this recipe? Please leave a 5-heart 💜💜💜💜💜 rating in the recipe card below. Let me know how much you loved it, or any problems you had, in the comments section further down.
Recipe
Chocolate Peanut Butter Bonbon Filling
Ingredients
Peanut butter filling
- ½ cup peanut butter I use Jif creamy for baking
- 2 tablespoons unsalted butter
- 1 cup powdered sugar sifted if really clumpy
Chocolate for molding or dipping
- 1 pound chocolate any kind, but do not use chocolate chips
Instructions
- Combine the peanut butter and butter in a small pan and melt over low heat until combined.½ cup peanut butter, 2 tablespoons unsalted butter
- Off the heat, stir in powdered sugar until smooth, making sure to mash out any lumps in your sugar.1 cup powdered sugar
- Let cool, either at room temperature or transfer to a bowl and put in the fridge, depending on how quickly you want to make the bonbons.
- Temper chocolate and use a thin layer to fill your molds. Let cool to room temperature.1 pound chocolate
- Add your bonbon filling and flatten, leaving enough space in your mold for a thin layer of chocolate for the bottom of your bonbon.
- Re-temper your chocolate if necessary and add a thin layer of chocolate to your mold.1 pound chocolate
- Let cool to room temperature and unmold. Tempered chocolate bonbons can be stored at cool room temperature.
Comments
No Comments