
Chocolate and Peanut Butter Rice Krispie Treats

These Chocolate and Peanut Butter Rice Krispie Treats are perfect in so many ways. They’re a no-bake treat that’s simple to make. They’re full of texture, from the crispy and chewy peanut butter rice krispie bar on the bottom to the smooth chocolate peanut butter ganache that’s topped with crunchy sprinkles. And I love that they’re great for a picnic or a potluck.
Just like with s’mores, Rice Krispie squares bring back your childhood nostalgia. So read on to learn the detailed tips and tricks or just hit that Jump to Recipe button, and let’s make Chocolate Peanut Butter Rice Krispie Treats!!

Jump to:
Ingredients
For this recipe, you’ll need:
- Rice Krispies or another puffed rice cereal
- Marshmallows – regular sized marshmallows melt best, but mini marshmallows also work.
- Peanut butter – I recommend using Jif for all baking with peanut butter.
- Chocolate and heavy cream for the ganache.
- Sprinkles, whether store bought or homemade rainbow sprinkles. In the original recipe, kiddo wanted rainbow chips in the rice krispie bars. If you want to do this and skip the ganache, I like Wilton’s rainbow crunch sprinkles because they’re a bit larger and don’t melt as quickly as regular sprinkles. But I find this way easier.
If you are a peanut butter lover, you should check out:
Please see the recipe card below for complete information on ingredients and quantities.
Variations and substitutions
- Make chocolate peanut butter rice krispie bars with my even easier Nutella ganache.
- Add in M&Ms for M&M Rice Krispie treats.
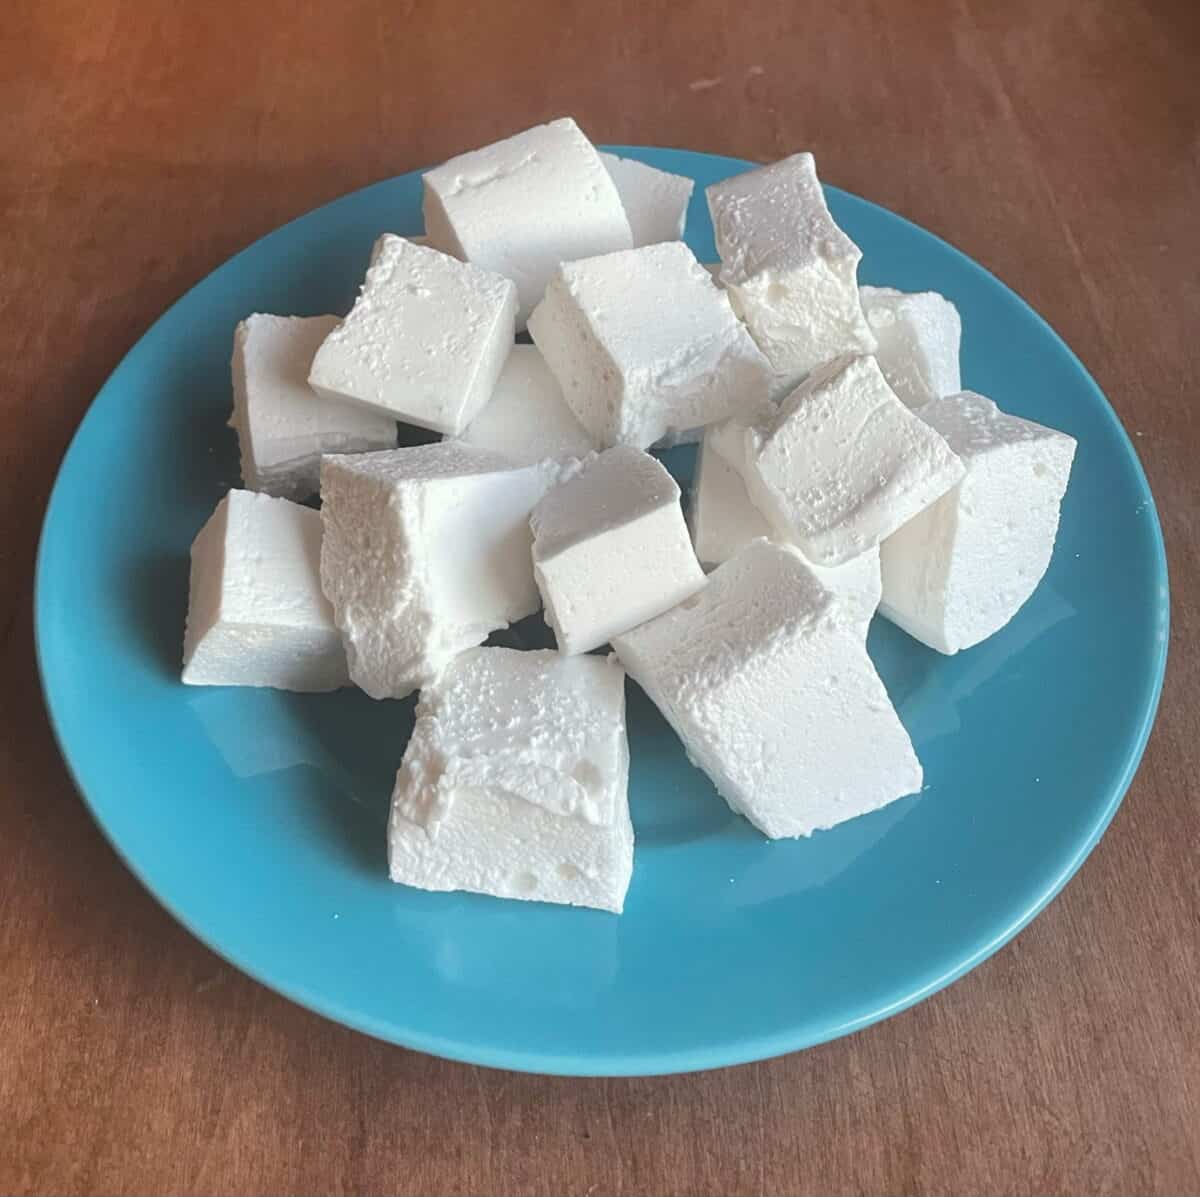
- Make your own marshmallows in any flavor you like. I make homemade marshmallows with sugar, corn syrup, egg whites, cream of tartar, and vanilla. They have a softer, smoother texture than store-bought marshmallows and are perfect whether you’re making these Rice Krispies treats or s’mores bars.
Recipe tips and tricks
Stove top desserts like Rice Krispie treats and this Biscoff pudding are great for summer when you don’t want to turn on your oven. Melt the peanut butter and butter together in a medium to large pot on your stove top over low heat – on higher heat I’ve had the butter separate. Then add the marshmallows and stir until fully melted.
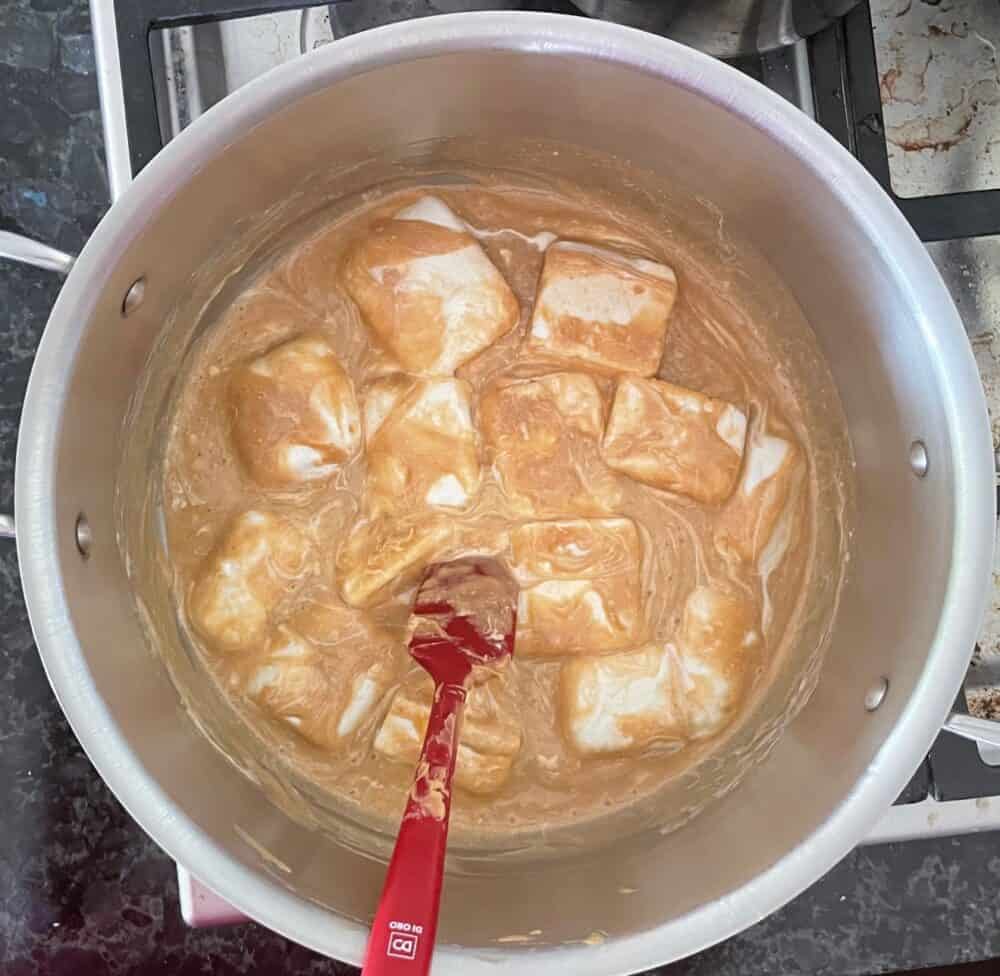
There is nothing complicated here. Just be sure to keep the pan on low, and stir to prevent everything from sticking to the bottom.
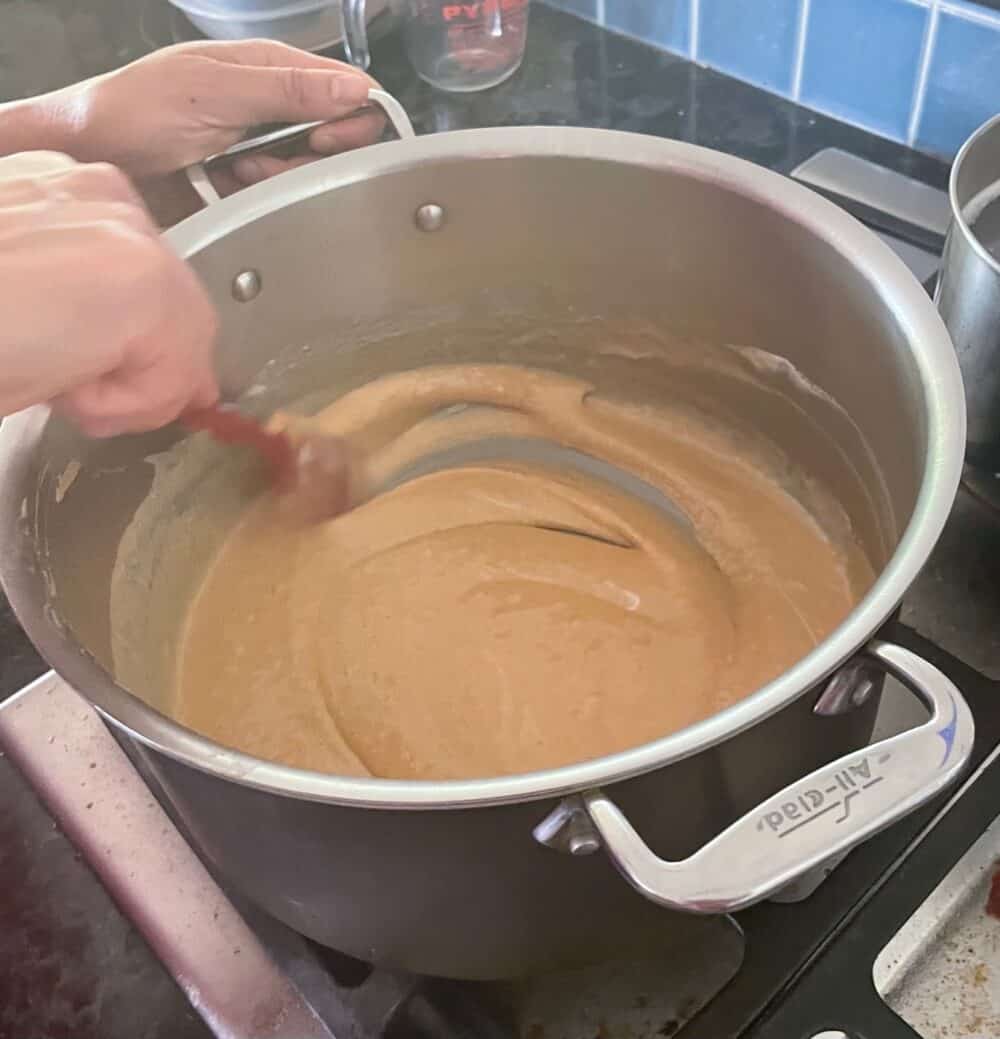
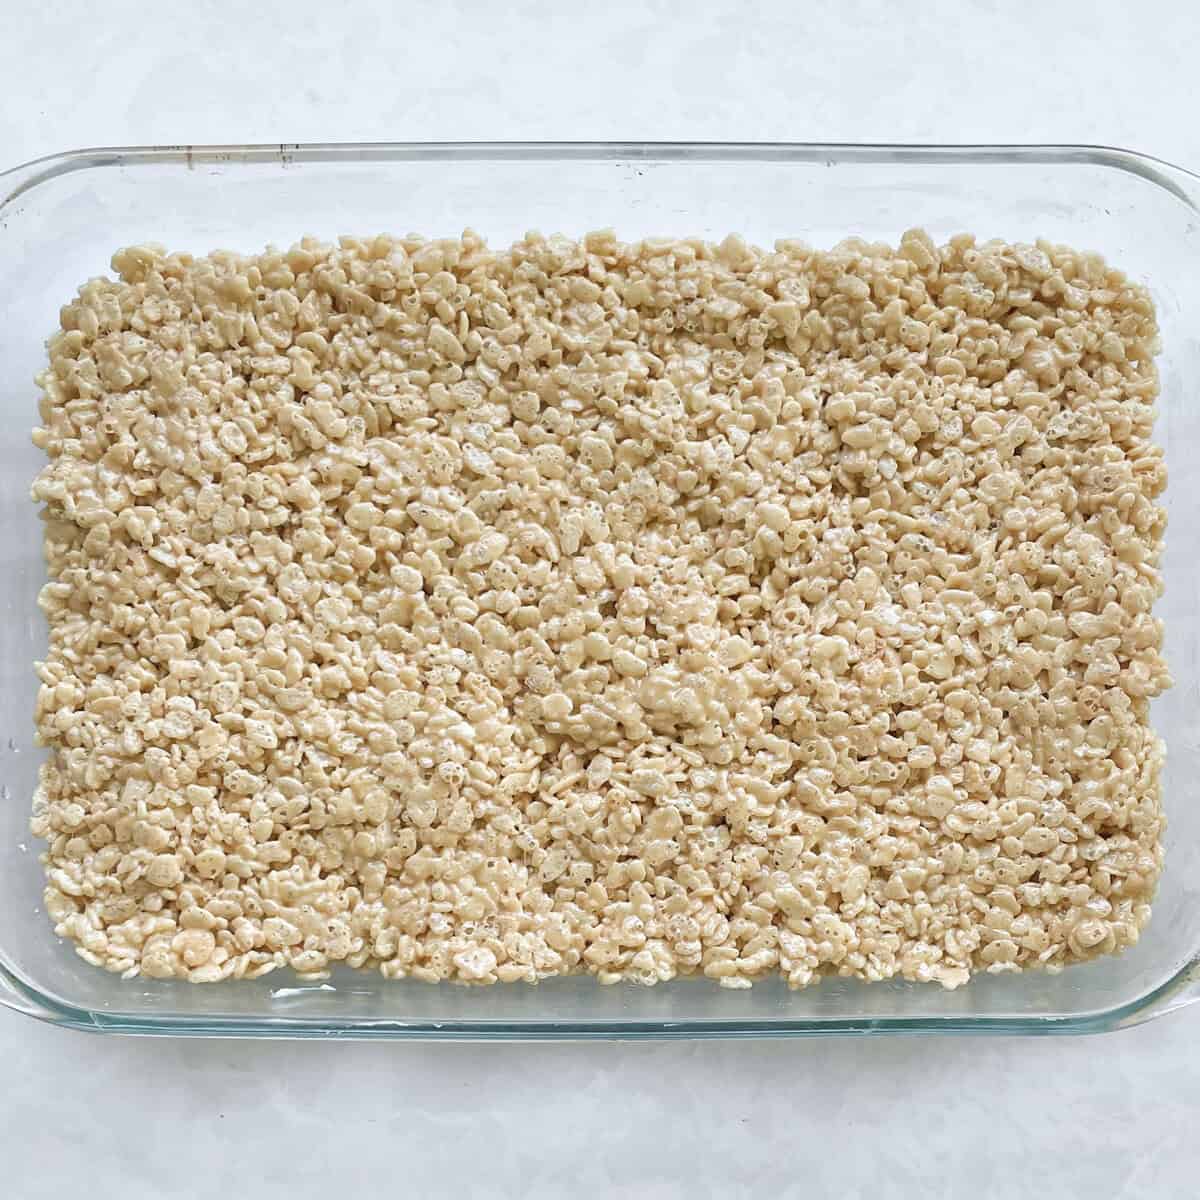
With the next step it’s important to work quickly to combine the rice cereal into the peanut butter and marshmallow mixture before it cools. Transfer the mixture into the buttered pan, and use a spatula or your hands to spread the mixture evenly into the pan, pushing down gently.
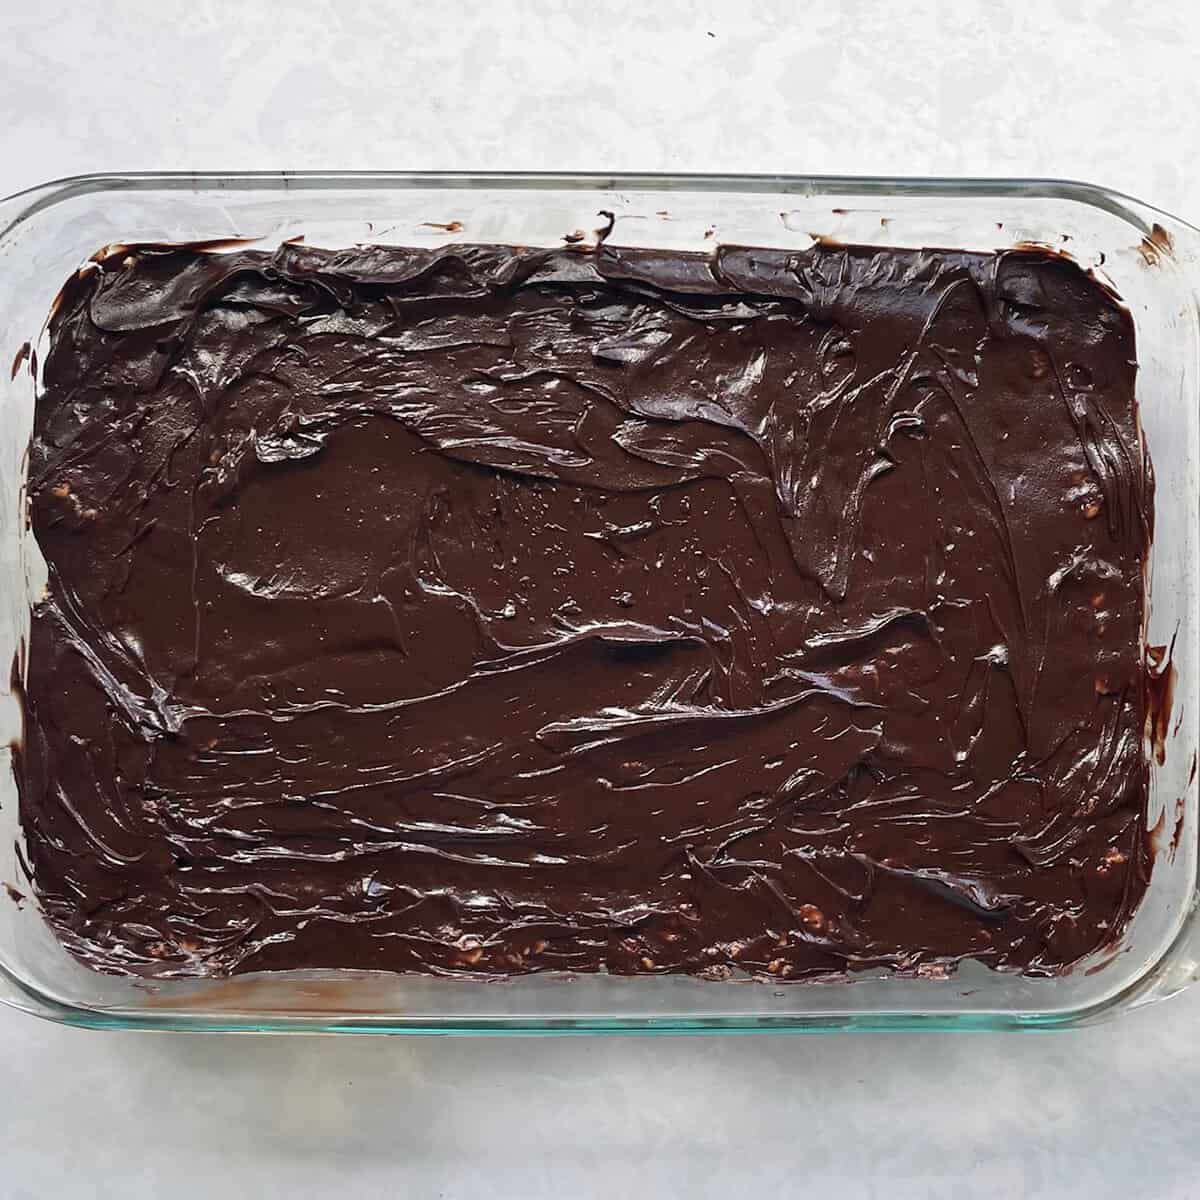
Next, make the chocolate peanut butter ganache – you can do this immediately or wait – and spread it evenly on the rice krispie treats. Don’t worry about making it pretty because you’ll be covering it up with sprinkles.
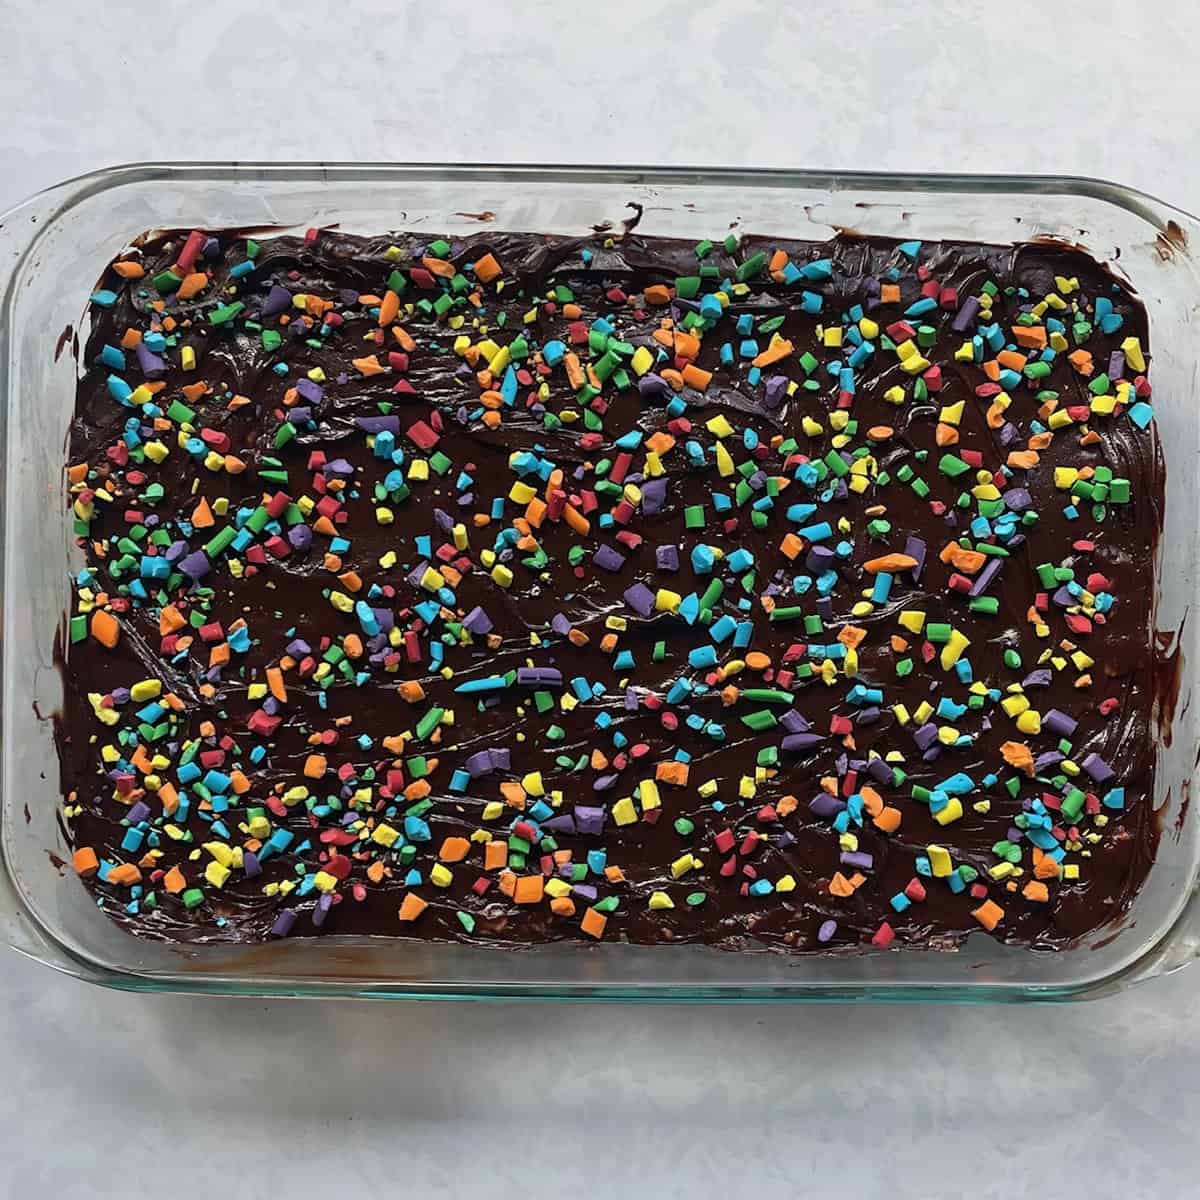
While the ganache is still warm, sprinkle your storebought sprinkles on top of the chocolate peanut butter ganache and gently press them down a little bit. This is so they don’t fall off when the ganache firms up.
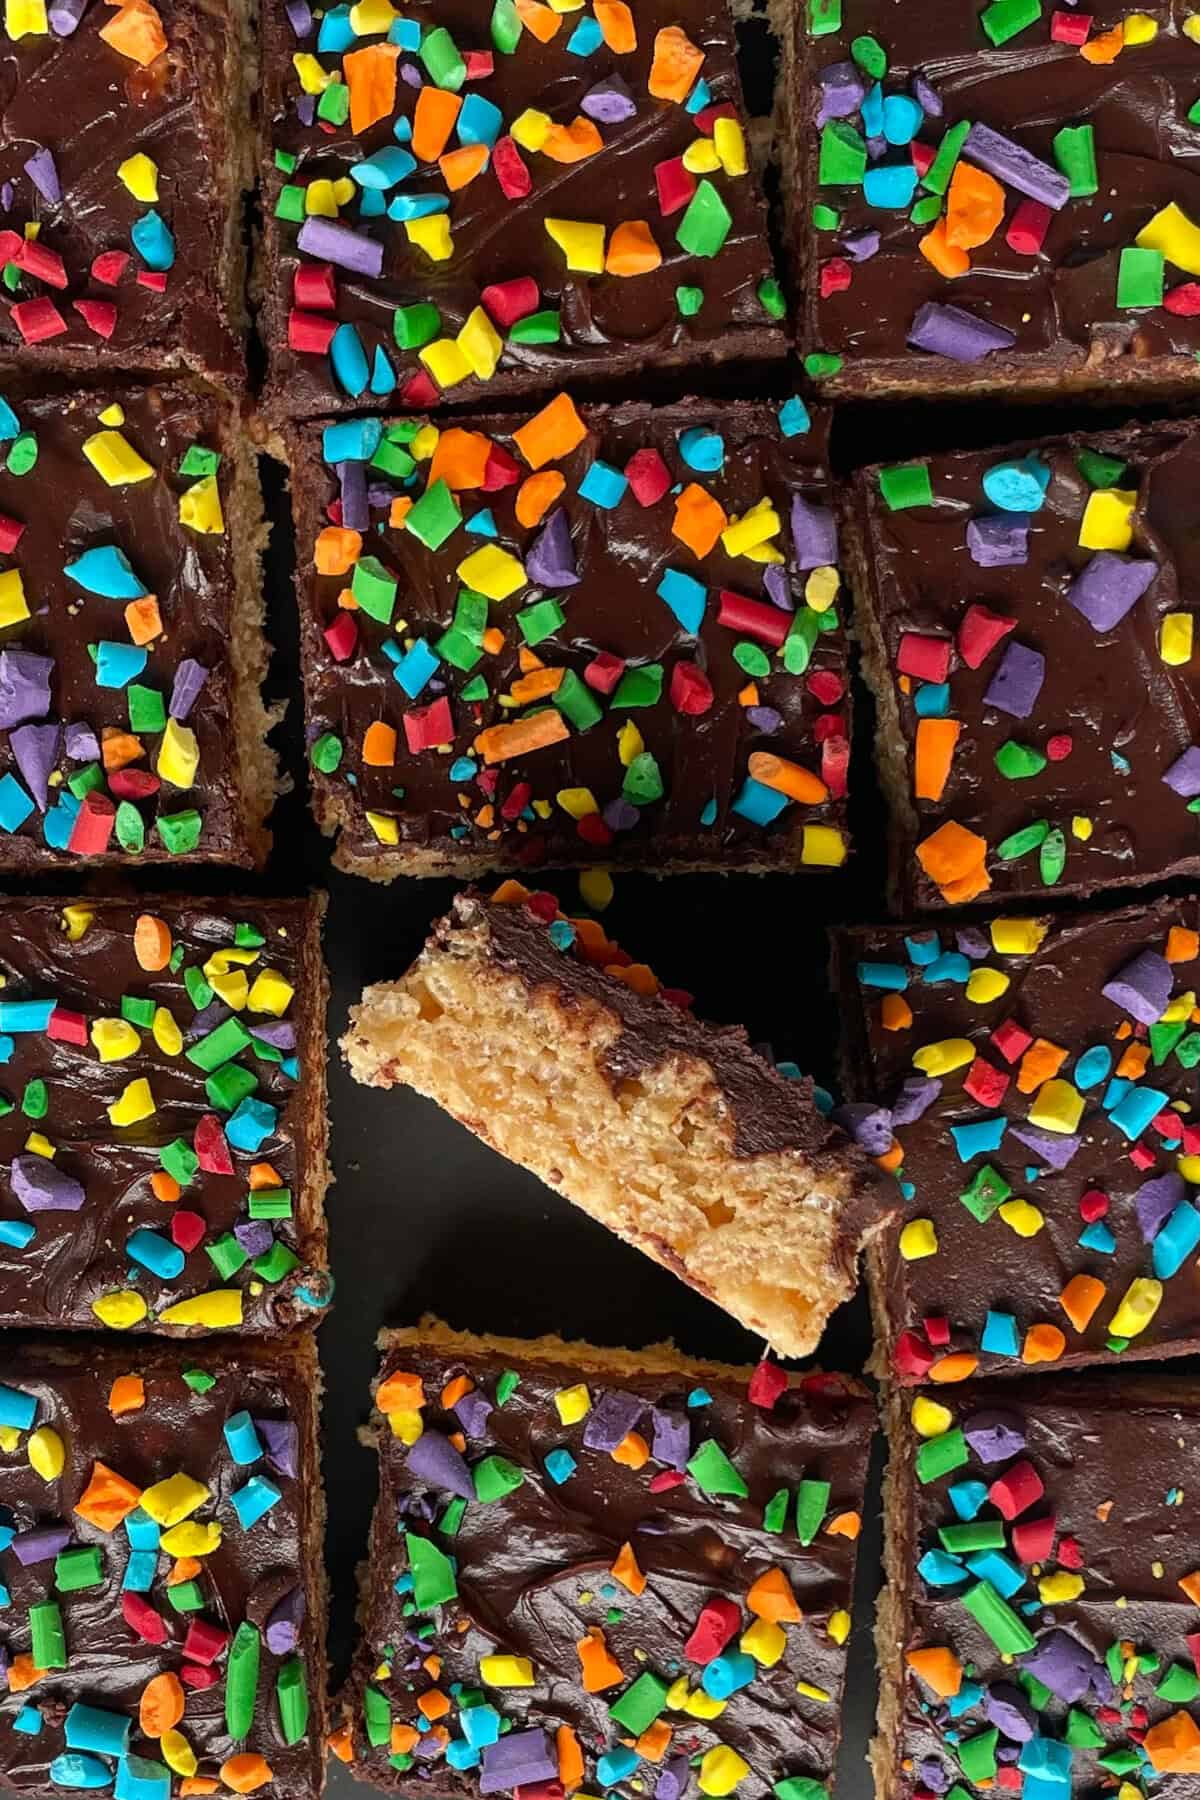
Let your chocolate peanut butter rice krispie treats cool. Cut and enjoy!
I store rice krispie treats at room temperature, either in the pan and covered tightly with plastic wrap, or in an air tight container with a piece of wax paper in between layers. Once cool, the chocolate peanut ganache layer is firm enough to stack the chocolate peanut butter rice krispie bars atop one another.
Recipe FAQs
It’s a made up word, so anything goes. Kellogg’s calls them Rice Krispies Treats (TM), but I think that’s hard to say.
Sure. Here are the original instructions. Just add peanut butter.
Yes! Wrap them well, and they’ll keep in the freezer for three or so months. Unwrap before bringing them to room temperature.
Yes, I love making rainbow desserts and other rainbow foods, from a naturally colored rainbow fruit tray and rainbow fruit tart, to chocolate chip M&M cookies made with rainbow candy, to rainbow sugar cookies and rainbow bread with food coloring.
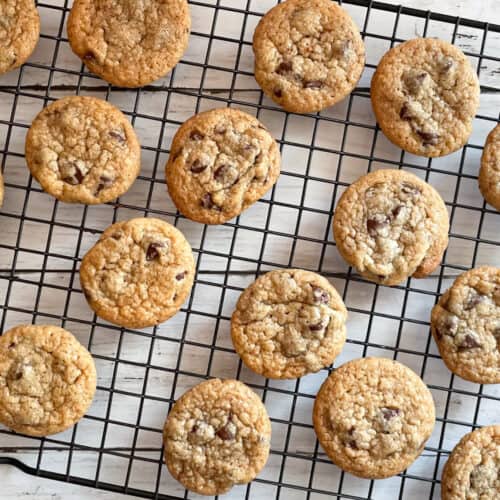
Related cookie recipes
Check out other Ugly Duckling Bakery easy cookie recipes like:
Love this recipe? Please leave a 5-heart 💜💜💜💜💜 rating in the recipe card below. Let me know how much you loved it, or any problems you had, in the comments section further down.
Recipe

Chocolate Peanut Butter Rice Krispie Treats
Ingredients
Peanut Butter Rice Krispie Bars
- 6 cups (160 grams)Rice Krispies cereal
- ½ cup (132 grams)smooth peanut butter Jif preferred
- 3 tablespoons (43 grams or 1.5 ounces) unsalted butter plus more greasing the pan
- 10 ounces (283 grams) marshmallows homemade or store-bought
Ganache and Sprinkle Topping
- 9 ounces (255 grams) semisweet chocolate melted
- ½ cup (120 milliliters)heavy cream
- ¼ cup (66 grams)smooth peanut butter
- 1 cup sprinkles
Instructions
Peanut Butter Rice Krispie Bars
- Butter a 9 inch by 13 inch Pyrex or other baking pan.
- Measure out the rice cereal into a large, heat-proof bowl.6 cups (160 grams)Rice Krispies cereal
- In a medium to large sized pot, melt the peanut butter and butter together over low heat.½ cup (132 grams)smooth peanut butter, 3 tablespoons (43 grams or 1.5 ounces) unsalted butter
- Add the marshmallows and stir until melted.10 ounces (283 grams) marshmallows
- Quickly stir the cereal into the peanut butter and marshmallow mixture.
- Transfer the mixture into the buttered pan, and use the spatula or your hands to spread the mixture evenly into the pan, pushing down on it gently.
Chocolate Peanut Butter Ganache and Sprinkle Topping
- Melt the chocolate in a double boiler or in a small metal bowl over a pot of slightly simmering water.9 ounces (255 grams) semisweet chocolate
- In a small pot, heat the cream and peanut butter over low heat until the peanut butter has dissolved into the cream and the mixture is just starting to simmer.½ cup (120 milliliters)heavy cream, ¼ cup (66 grams)smooth peanut butter
- Add the cream and peanut butter to the chocolate and whisk until smooth and uniform. Pour the chocolate peanut buttter ganache over the peanut butter rice krispie bars and spread it evenly with a spatula.
- While the chocolate peanut butter ganache is warm, sprinkle your sprinkles and gently press them into the warm ganache.1 cup sprinkles
- Let it cool for at least 30 minutes before cutting.
- Store at room temperature in the pan wrapped in plastic wrap or in an airtight container for one week.
Notes
Nutrition
This recipe for Rice Krispie treats with peanut butter was adapted from the recipe on the box for the 2021 reddit 52 week baking challenge (picnic). What could be better for a summer picnic than something that doesn’t require the oven, are sturdy enough to get bounced around in a picnic basket, and won’t risk giving everyone food poisoning. That’s pretty important when you’re an infectious disease doctor like I am.
Bored with the recipes you’ve been cooking and baking lately? Join the thousands of others who get inspiration here:
Comments
No Comments